
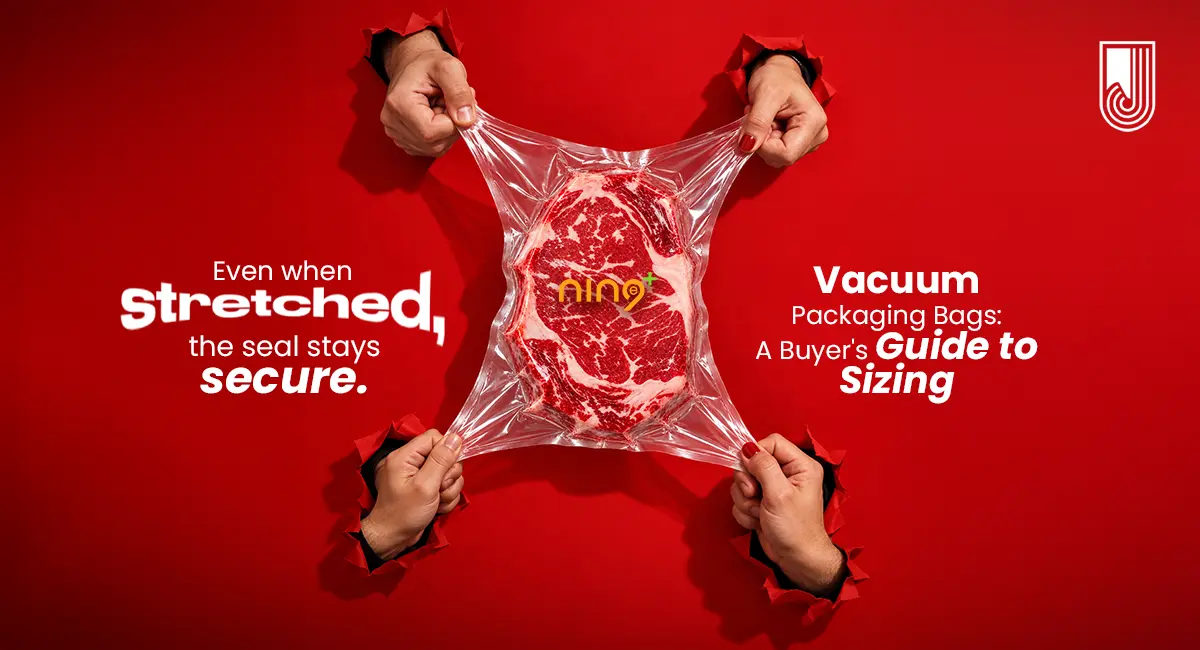
Ordering vacuum packaging bags looks simple until the first batch arrives. The bags are too tight to load quickly, or so loose that they wrinkle and trap air. The film punctures on the product, or it’s thicker and pricier than it needs to be. Most of these problems come down to a few details in the order.
This guide walks through how to size vacuum pouch bags, when gussets and zippers are worth it, how to choose thickness, and what to tell your supplier.
Step 1: Measure the bag size
Vacuum bags are listed as width × length, and both are usually internal sizes (inside the seals). The bag has to fit around the product, not just match its flat outline.
A practical way to size a flat bag:
-
- Width = product width + product height + 2 to 3 cm of clearance
-
- Length = product length + product height + space for the seal
The seal space matters. Chamber machines need some empty bag between the product and the sealing bar, typically 3 to 5 cm, so the bag can lie flat across the bar.
Example: a cheese block 10 cm wide, 20 cm long and 5 cm high needs a bag about 17 to 18 cm wide (10 + 5 + 2 to 3) and about 30 cm long (20 + 5 + 4 to 5 for the seal). An 18 × 30 cm bag is a good starting point.
Test with a few bags before ordering in volume. Too tight slows down loading; too loose leaves wrinkles and folds where air and moisture collect.
Step 2: Decide whether you need a gusset
A gusset is a fold in the side or bottom of the bag that opens out to give it depth.
Gusseted vacuum bags suit tall or box-shaped products: large cheese blocks, whole poultry, bulk portions and anything that needs to stand up or keep a squarer shape. Bottom gussets help bags stand on a shelf; side gussets give extra width without making the bag longer.
For flat or low-profile products such as sliced meat, fish fillets, paneer slabs or dry fruits, a flat bag is cheaper and works just as well.
Step 3: Decide whether you need a zipper
Vacuum bags with zipper let the end user open and reseal the pack. They make sense for consumer products that are used over several days: grated or sliced cheese, dry fruits, nuts and snacks.
Two points to check:
-
- the vacuum seal is made below the zipper, so the pack is fully sealed until first opening
-
- the zipper adds cost and some width, so it is rarely worth it for foodservice or wholesale packs that are opened and used at once
Step 4: Choose the thickness
Thickness is usually quoted in microns (µm). As a general guide:
-
- Light products with soft edges (cheese slices, paneer, dry fruits): around 60 to 80 µm
-
- General use (meat portions, sausages, cheese blocks, fish): around 90 to 120 µm
-
- Heavy or sharp products (large cuts, frozen product, products with shell or hard edges): 150 µm and above
Bone-in meat is the exception. A thicker bag alone often still punctures, so bone guards or purpose-made barrier shrink bags are the better answer.
Step 5: Check the barrier and the film type
Standard nylon/polyethylene bags give good strength and a moderate oxygen barrier, which is fine for short shelf life and frozen products. For fresh meat and cheese that must last weeks in the chiller, choose a high barrier structure with an EVOH layer.
Also check:
-
- Smooth or embossed: chamber machines use smooth bags. Suction (external) vacuum sealers need embossed or channel bags so the air can be drawn out.
-
- Clarity and gloss: important when the product sells on looks. Our clear vacuum pouches are made for this.
-
- Temperature use: confirm the bag is rated for boiling, sous vide cooking or deep freezing if you need it.
-
- Print: printed vacuum pouches carry your brand and product details without a separate label.
Common buying mistakes
-
- Ordering by the product’s flat size and forgetting its height
-
- Choosing a thicker bag to fix punctures that come from bones or sharp edges
-
- Using embossed bags on a chamber machine, or smooth bags on a suction sealer
-
- Paying for high barrier film on frozen products that don’t need it
-
- Skipping a test run before placing a large order
What to send your supplier
To get accurate vacuum bags for food packaging, share:
-
- Product type and dimensions (length, width, height) and weight
-
- Your vacuum machine type and sealing bar length
-
- Required shelf life and storage temperature
-
- Whether you need a gusset, zipper or print
-
- Expected monthly quantity
With that information we can recommend vacuum packaging bags in the right size, thickness and film structure for your product. Request samples and test them on your own line before you commit to a full order.